Mastering Spotify: A Step-by-Step Guide on How to Remove Podcast Content

So, you've got a podcast, and you're wondering how to remove podcast from Spotify if things go sideways or you just want to clean things up? It happens! Maybe you recorded over something, or a particular episode just isn't hitting the mark anymore. This guide is going to walk you through the whole process of getting your podcast sounding just right, and yes, how to manage what’s actually out there on Spotify. We'll cover everything from the nuts and bolts of editing to making sure your show is ready for listeners.
Key Takeaways
- First things first, know what you're even trying to do with your podcast – what's the vibe, who are you talking to? This helps guide all your editing choices.
- Get your gear and software sorted *before* you start. Having the right tools makes the whole editing thing way smoother.
- Learn the basic editing moves: cutting out the junk, arranging your audio, and making sure the volume is consistent so people can actually hear you.
- Want your podcast to sound professional on Spotify? Focus on cleaning up noise, fixing echoes, and smoothing out those annoying 's' sounds.
- Polish it up with music and sound effects, but don't go overboard. Think intro music, smooth transitions, and maybe a subtle sound effect here and there.
Understanding Podcast Content Before Editing
Before you even think about hitting 'record' or, more importantly, 'cut,' it's super helpful to know what you're actually making. Think of it like baking a cake – you wouldn't just throw random ingredients in and hope for the best, right? Same deal with podcasts.
Knowing Your Podcast's Theme and Style
What's your show about? Is it a deep dive into historical events, a funny chat about pop culture, or maybe a how-to guide for fixing leaky faucets? Having a clear theme keeps your content focused and helps listeners know what to expect. Your style is part of this too. Are you super serious and academic, or more laid-back and conversational? This affects how you'll edit. If you're aiming for a serious tone, you'll probably want to cut out more filler words and keep things moving. If it's casual, a few
Essential Tools and Preparation for Editing
Alright, so you've got your podcast idea all mapped out, and maybe you've even hit record. Now comes the part where we actually make it sound good, and for that, you need the right gear and a bit of prep work. Think of it like getting your kitchen ready before you start cooking – you wouldn't just grab random utensils, right?
Gathering Necessary Recording Equipment
First things first, let's talk about what you'll need to capture your audio. While you can technically record with your phone's built-in mic, it's probably not going to cut it if you want a professional sound.
- Microphone: This is your most important tool. There are tons of options, from USB mics that plug right into your computer (super easy for beginners) to XLR mics that offer more flexibility but need an audio interface. Don't break the bank right away, but try to get something decent. A good starting point might be a dynamic mic if your recording space isn't perfectly quiet.
- Headphones: You absolutely need these. Not just for listening back, but for monitoring yourself while you record. Closed-back headphones are best because they prevent sound from leaking out and getting picked up by your mic. Trust me, you don't want to hear your own voice echoing back at you through the speakers.
- Pop Filter/Windscreen: These little guys are cheap but make a huge difference. They help stop those harsh 'P' and 'B' sounds (called plosives) from making your audio sound like a pop.
- Shock Mount: If your mic stand bumps or you accidentally tap the desk, a shock mount isolates the mic from vibrations, keeping those thuds out of your recording.
Getting the right equipment upfront saves a lot of headaches later. It's way easier to fix a bad recording before it happens than to try and clean up a mess in editing.
Selecting Appropriate Audio Editing Software
Once you've got your audio captured, you need software to shape it. Luckily, there are options for every budget and skill level.
- Audacity: This is a free, open-source option that's super popular for a reason. It's got all the basic tools you need to cut, copy, paste, remove noise, and adjust levels. It might look a little dated, but it's powerful.
- GarageBand: If you're on a Mac or iOS device, this comes free and is surprisingly capable. It's got a more modern interface than Audacity and is pretty intuitive.
- Adobe Audition: This is a professional-grade option, part of the Adobe Creative Cloud. It's got a steeper learning curve and a subscription cost, but if you're serious about podcasting and want advanced features, it's top-notch.
- Descript: This one's a bit different. It transcribes your audio, and you edit the text, which then edits the audio. It's fantastic for removing filler words or rearranging segments quickly.
The key is to pick one and learn it well. Don't jump between too many programs when you're starting out.
Organizing Your Audio Files Efficiently
This might sound boring, but trust me, good organization is your best friend during editing. Imagine trying to find a specific sentence in a giant pile of unlabelled tapes – yikes!
- Create a Dedicated Folder: Make a main folder for your podcast, and then inside that, create a subfolder for each episode.
- Label Everything Clearly: Inside the episode folder, keep your raw recordings, any music or sound effects you plan to use, and eventually, your edited files. Use clear names like
Episode_01_Raw_Host.wav,Episode_01_Music_Intro.mp3,Episode_01_Edited_Final.wav. - Backup Regularly: Seriously, back up your work! Use cloud storage (like Google Drive, Dropbox) or an external hard drive. Losing hours of editing because your computer crashed is the worst feeling.
Getting these basics sorted before you even start cutting will make the whole editing process much smoother and less stressful. You'll be able to focus on making your podcast sound great, rather than hunting for files.
Mastering Basic Editing Techniques
Alright, so you've got your raw audio, and now it's time to make it sound good. This is where the magic happens, turning that rambling recording into something your listeners will actually want to hear. Don't worry, it's not as scary as it sounds!
Importing and Arranging Your Audio Clips
First things first, you need to get your audio files into your editing software. Think of this like unpacking your groceries before you start cooking. Most programs make this super simple – usually just a drag-and-drop action. Once they're in, you'll see them as waveforms, which are basically visual representations of your sound. Now, you can start arranging them. This means cutting out the bits you don't need and putting the good stuff in the right order. It’s like putting together a puzzle, making sure everything flows naturally from one piece to the next. You might find yourself moving clips around a lot to get the story just right. This is also where you can start thinking about the overall structure of your episode.
Removing Unwanted Sounds and Pauses
This is a big one for making your podcast sound professional. We all have those little verbal hiccups, right? "Umms," "ahhs," long pauses where you're searching for a word, or maybe even a cough. These can really pull a listener out of the conversation. Your editing software has tools to cut these out. You'll want to listen through carefully and snip out anything that breaks the flow. The goal is to make it sound like you're speaking smoothly and confidently. Just be careful not to cut too much, or it might sound unnatural. Sometimes a short pause is good for emphasis, but the long, awkward ones? Gone!
Adjusting Volume Levels for Clarity
Ever listened to a podcast where one person is super loud and the other is barely audible? Yeah, not fun. Balancing the volume levels is key. You want all your speakers to be at a similar loudness, so your listeners don't have to constantly fiddle with their volume knob. Most editing software has tools to help with this, like volume automation or faders. You can also use leveling tools that try to even out the volume automatically. It takes a bit of listening and tweaking, but getting this right makes a huge difference in how easy and enjoyable your podcast is to listen to. You can even use plugins to fine-tune the sound further.
Enhancing Audio Quality on Spotify
So, you've got your podcast recorded and maybe even done some basic cleanup. That's awesome! But to really make it shine on Spotify, we gotta talk about making that audio sound, well, good. Nobody wants to listen to something that sounds like it was recorded in a tin can, right?
Reducing Background Noise Effectively
This is a big one. That hum from your computer, the distant traffic, or even the fridge kicking on – it all adds up. Most editing software has a 'noise reduction' tool. It's not magic, but it can do wonders. You usually 'teach' it what the noise sounds like by selecting a section of pure background noise, and then it tries to filter that out from the rest of your audio.
- Listen carefully: Play your audio back with headphones and pinpoint the exact noises you want gone.
- Use the tool sparingly: Too much noise reduction can make your voice sound weird and robotic.
- Experiment with settings: Different noises need different approaches. Play around with the 'threshold' and 'reduction' levels.
Remember, the goal is to make the background noise less noticeable, not to completely erase it, which can often sound unnatural.
Fixing Echoes and Reverb
Echoes and reverb can make your recording sound distant or like you're in a big, empty room. This is often called 'room tone' or 'ambiance'.
- Record in a treated space: Soft surfaces like carpets, curtains, and even blankets can soak up sound and reduce echo.
- EQ can help: Sometimes, you can use equalization (EQ) to gently cut certain frequencies that contribute to the echoey sound.
- Consider plugins: There are specialized plugins designed to tackle reverb, but again, use them gently.
Taming Sharp 'S' Sounds and Plosives
Ever heard a podcast where the 'S' sounds are super harsh, or a 'P' sound makes a big 'pop' noise? Those are called sibilance and plosives, and they can be really annoying. The best way to deal with these is often prevention during recording, but you can fix them in editing too.
- Pop filter: Seriously, get one. It goes in front of your microphone and breaks up those air bursts from 'P' and 'B' sounds.
- Mic placement: Don't talk directly into the mic. Try talking slightly across it or at an angle.
- De-Esser tool: Most editing software has a 'de-esser'. It's specifically designed to reduce harsh 'S' sounds. You can also manually cut out those 'pop' sounds if they're really bad.
Adding Polish with Music and Effects
Okay, so you've got your audio cleaned up and sounding pretty good. Now, let's make it sound like a real podcast! This is where you can really add some personality and make your show stand out. Think of it like adding the sprinkles to your cupcake – it just makes everything better.
Incorporating Intros, Outros, and Jingles
First off, you need a solid intro and outro. Your intro is like the handshake for your podcast – it sets the tone and tells people what they're in for. A good intro usually has some music and maybe a quick mention of your show's name and what it's all about. Your outro is your chance to say goodbye, thank your listeners, and maybe tell them where to find you online or what to expect next time. Jingles are those short, catchy musical bits that can be used to mark transitions between segments or just add a bit of flair. They're like sonic punctuation marks!
- Intro: Grab attention immediately. Keep it short and sweet, usually under 30 seconds.
- Outro: Summarize, thank listeners, and include a call to action (like subscribing or visiting your website).
- Jingles: Use sparingly for segment breaks or to highlight a specific point.
When picking music, make sure you have the rights to use it. There are tons of royalty-free music sites out there, so you don't have to worry about copyright issues.
Using Transitions for Smooth Flow
Nobody likes a podcast that jumps around like a frog. Smooth transitions are key to keeping your listeners engaged. You don't want abrupt cuts that make people wonder if they missed something. Here are a few ways to make things flow nicely:
- Crossfades: This is where one sound slowly fades out as another sound fades in. It's super useful for moving between different speakers or when you're bringing in background music.
- Sound Effects: A subtle
Preparing Your Podcast for Spotify Upload
Crafting Compelling Podcast Metadata
Alright, so you've polished your audio to a shine. Now, let's get it ready for the big leagues – Spotify. First up, we need to talk about metadata. Think of this as your podcast's ID card and its resume all rolled into one. It's what Spotify uses to understand what your show is about and show it to the right people. Getting this right is pretty important if you want folks to actually find you.
- Podcast Title: Make it catchy but also clear. If your show is about "Knitting for Beginners," don't call it "Yarn Fun." People need to know what they're getting into.
- Podcast Description: This is your elevator pitch. What's your show about? Who is it for? What makes it different? Write a few sentences that hook people in.
- Podcast Artwork: This is the first visual impression. Make sure it's clear, looks good even when it's small, and fits Spotify's requirements (usually a square image, at least 1400x1400 pixels).
Writing Informative Show Notes
Show notes are like the program notes for your episode. They give listeners more context and a reason to stick around or check out what you mentioned. Don't just skip this part; it's a missed opportunity!
- Episode Summary: A quick rundown of what you talked about. Mention any key guests or big topics.
- Timestamps: If you covered a lot of ground, adding timestamps lets listeners jump to the parts they're most interested in. Super handy!
- Relevant Links: Did you mention a book, a website, or a social media handle? Put those links here. It adds a lot of value for your listeners.
Good show notes can make a big difference in how listeners engage with your content. They're not just an afterthought; they're part of the overall experience.
Optimizing Titles and Descriptions for Discovery
This is where you help Spotify's search engine do its job. Think about what words someone would type into the search bar to find a show like yours.
- Episode Titles: Be specific. Instead of "Episode 5," try "Episode 5: Mastering Sourdough Starters with Chef Anya." It tells listeners exactly what's inside.
- Keywords: While Spotify doesn't have a dedicated keyword field like some other platforms, naturally weaving relevant terms into your podcast description and episode titles is key. Think about the topics you cover and the language your audience uses.
Basically, make it easy for both humans and algorithms to understand what your podcast is all about. It takes a little effort, but it really helps people find your awesome content.
Submitting and Promoting Your Podcast
Alright, you've polished your podcast to a shine, and now it's time to get it out there! Submitting your show to Spotify is pretty straightforward, but getting people to actually listen? That's where the fun begins.
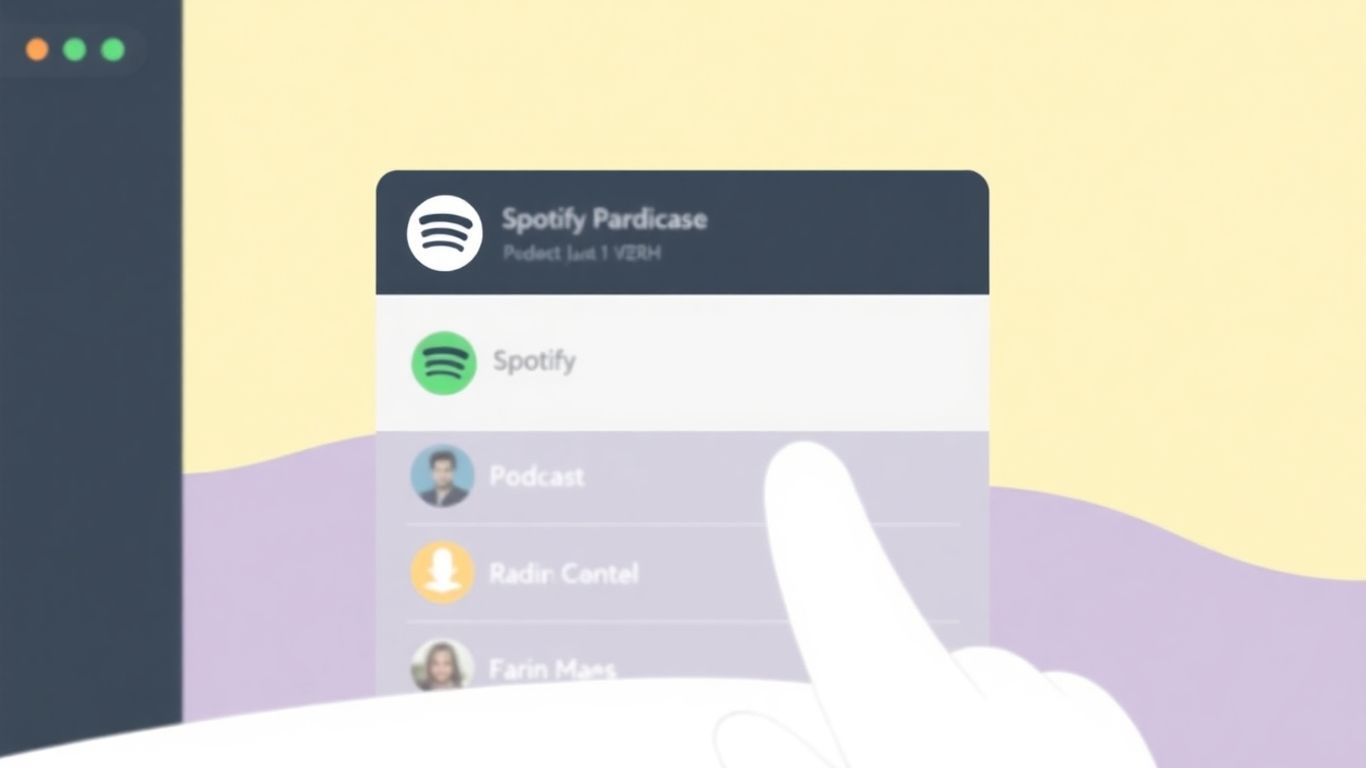
Creating Your Spotify for Podcasters Account
First things first, you need to set up shop with Spotify for Podcasters. It's basically your dashboard for managing your show on the platform. You'll use your regular Spotify account to sign up. Once you're in, you'll need to give Spotify your podcast's RSS feed. This feed is like your podcast's digital passport, telling Spotify where to find all your episodes and info. Most podcast hosting services will give you this feed automatically, so just check with your host if you're not sure where to find it.
Submitting Your RSS Feed for Approval
After you've got your Spotify for Podcasters account sorted and your RSS feed handy, you'll submit it. Spotify will then take a look to make sure everything is in order and follows their rules. It might take a little bit of time for them to approve it, so be patient! Once they give it the green light, your podcast will start showing up for listeners.
Remember, getting on Spotify is a big step, but don't stop there! Think about submitting your RSS feed to other places too, like Apple Podcasts or Google Podcasts, to reach even more ears. You'll need that RSS feed for those submissions as well.
Strategies for Expanding Your Listener Base
So, your podcast is live on Spotify. Now what? Time to get the word out!
- Tell Everyone You Know: Seriously, share it on your social media, email your friends and family, and mention it in any other online spaces you hang out in.
- Engage with Your Listeners: Pay attention to comments and reviews. If people leave feedback, try to respond! It makes listeners feel heard and encourages them to stick around.
- Cross-Promote: If you know other podcasters, see if you can swap shout-outs or even guest on each other's shows. It's a great way to tap into new audiences.
- Use Your Show Notes: Make sure your show notes are packed with good info and relevant links. This helps people find your episodes when they search and gives them more reasons to tune in.
Getting your podcast out there is an ongoing thing. Keep creating great content, keep promoting it, and keep talking to your listeners. It's a marathon, not a sprint!
Ready to get your podcast heard? Once you've finished creating your show, the next big step is getting it out there! We'll guide you through the process of submitting your podcast to all the major platforms and share some easy ways to promote it so more people can discover your amazing content. Visit our website today to learn how to make your podcast a hit!
Wrapping It Up
So there you have it! We've gone through how to get your podcast sounding just right and ready for listeners on Spotify. It might seem like a lot at first, but honestly, taking the time to clean up your audio and make it sound good really makes a difference. Your listeners will thank you for it, and it just makes the whole experience better. Keep practicing, don't be afraid to try different things, and before you know it, you'll be a podcast editing pro. Happy podcasting!
Frequently Asked Questions
Do I need fancy equipment to start editing my podcast?
Nah, you don't need a super expensive setup to begin. A decent microphone and some headphones are a good start. Most editing software has free versions or trials, so you can test them out before committing. Just focus on getting clear audio first!
What's the biggest mistake people make when editing podcasts?
One common slip-up is messing with the audio levels too much. You want everything to sound smooth, not jumpy. Also, going overboard with sound effects or making edits too obvious can pull listeners out of the episode. Keep it natural!
How long should I spend editing each episode?
That really depends on how much you need to fix! For a beginner, it might take a few hours for a short episode. As you get faster and more familiar with your tools, you'll probably speed up. The goal is quality, not just speed.
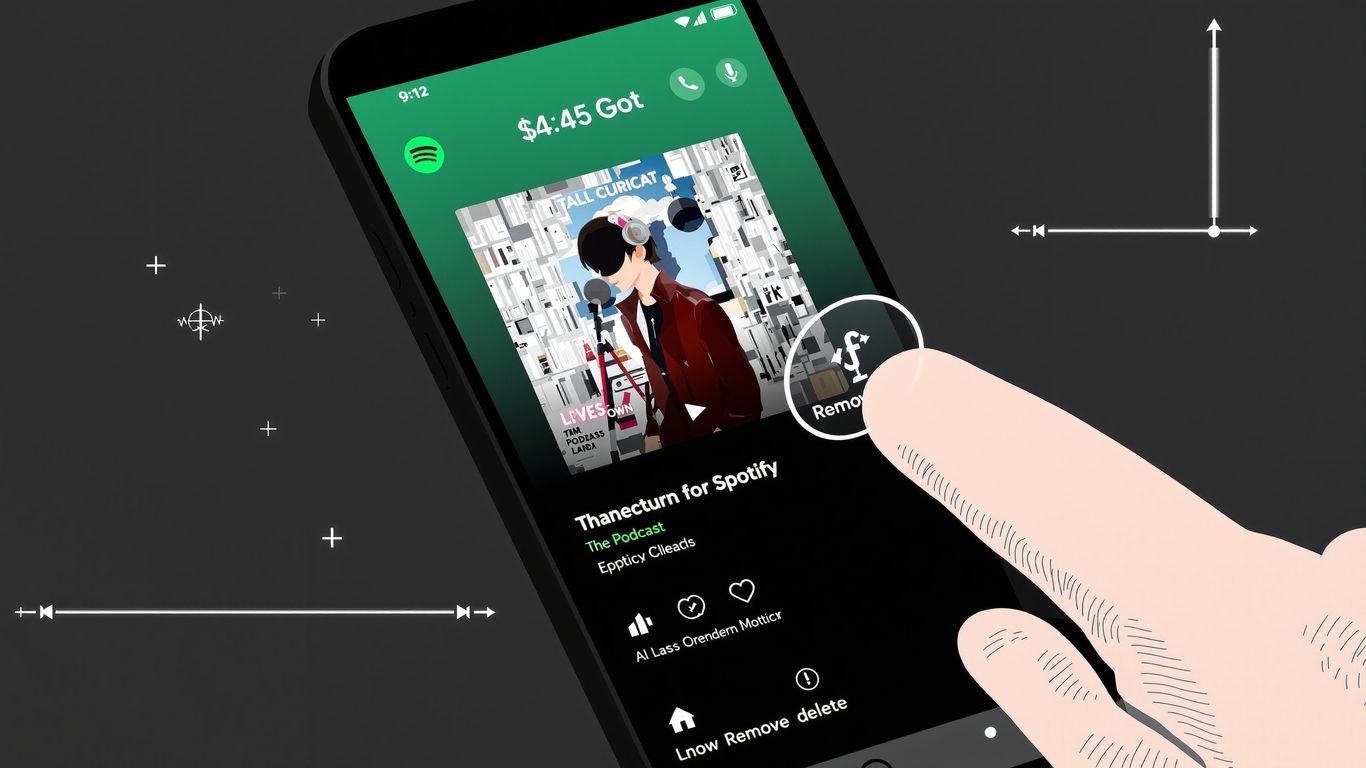
Can I edit a podcast directly on Spotify?
You can't actually edit your audio files *on* Spotify. Spotify is where you upload and share your finished podcast. You'll need separate software, like Audacity (which is free!) or Adobe Audition, to do the actual editing before you submit it.
What's the deal with 'plosives' and 'S' sounds?
Plosives are those puffy 'p' and 'b' sounds that can make a pop when you speak into the mic. Sharp 'S' sounds can be a bit sibilant, or hissy. A pop filter helps when recording, but you can often smooth these out in your editing software too.
How do I make my podcast sound professional on Spotify?
Focus on clear audio! That means removing background noise, making sure everyone's volume is consistent, and cutting out awkward silences or mistakes. Adding a nice intro and outro also gives it a polished feel. Good editing makes a huge difference!